To create, delete, or modify an email filter for a cPanel based email account, please follow the steps below:
1. Login to your webmail account using any web browser. Your webmail is usually accessible by going to https://webmail.[your email domain name].com or https://www.[your email domain name].com/webmail. In the event neither of those URLs take you to a login screen like the one pictured below, you can also try https://mail.[your email domain name].com/webmail
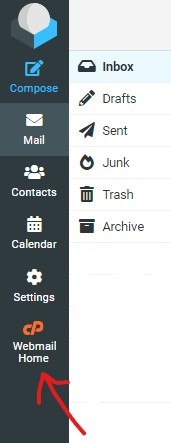
2. After logging into your webmail account, you will be taken to 1 of 2 screens. You will either be taken directly to your inbox or to the cPanel Webmail home screen which will have many options listed all over the page (an image of this screen can be seen in step 3 below). If you are taekn directly to your inbox, you will need to click on the CP Webmail Home link. The location of this link will depend on whether you have configured your cPanel email account to use the Roundcube or Horde webmail client. The image on the left below is the left side navigation menu of the Roundcube webmail client along with an arrow indicating where the link for CP Webmail Home is located. The image on the right is the top menu navigation bar of the horde webmail client along with an arrow indicating the location of the proper link you need to click on to return to the cPanel Webmail home screen.
 |
 |
3. Once at the cPanel Webmail Home screen, in the bottom left, you will find a link for "Email Filters". You will want to click on that link.
![]()
4. After clicking on the email filters link, you will be taken to screen like that pictured below. If you already have existing email filters they will be shown below the area of the screen pictured below. The screen capture did not include these fields to allow better flow for this KB artile. To create a new email filter, click on the "Create new filter" button. To modify or delete an existing filter, click on the trash can or pencil icon that you will find to right next to the rule name of each existing rule that you will find below.
![]()
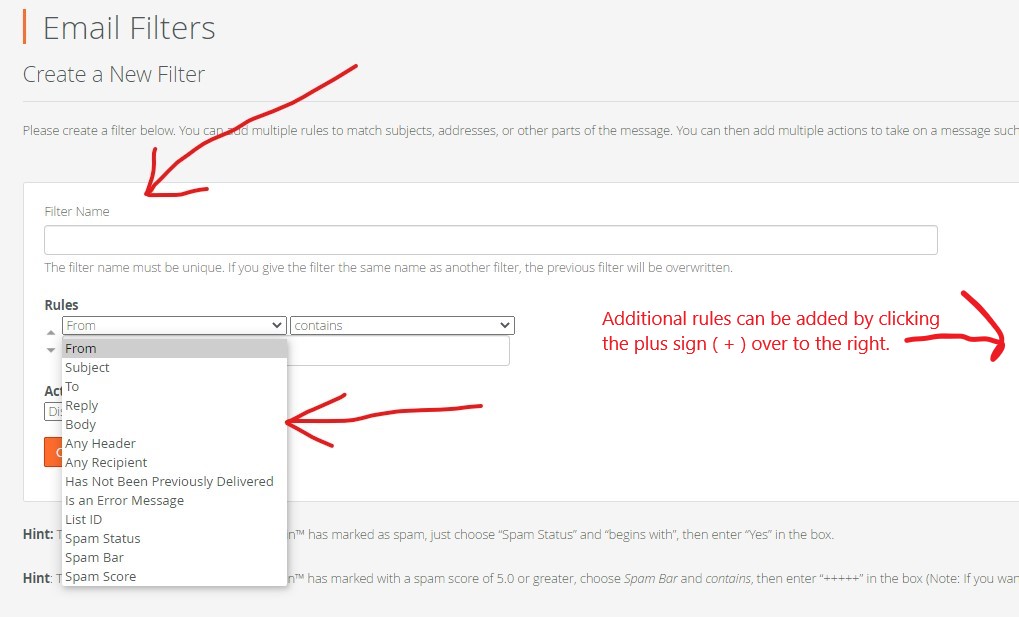
5. After clicking on the new filter button, you will be taken to a screen that will allow you to configure your new email filter. Fill in the field for filter name with a descriptive name so that you will be able to recognize the purpose of the rule in the future should you need to modify or delete the rule. Next configure the rules that you would like to use to match which email messages you would like the filter to apply to. You can add multiple rules per filter using AND (all rules must match for the filter to be applied) or OR (any of the rules can be matched for the email to apply) logic by clicking on the plus ( + ) sign over to the right next to the rules type dropdown menu. Complete information on how rules work can be found in the cPanel documentation located at https://docs.cpanel.net/knowledge-base/email/how-to-configure-email-filters/.
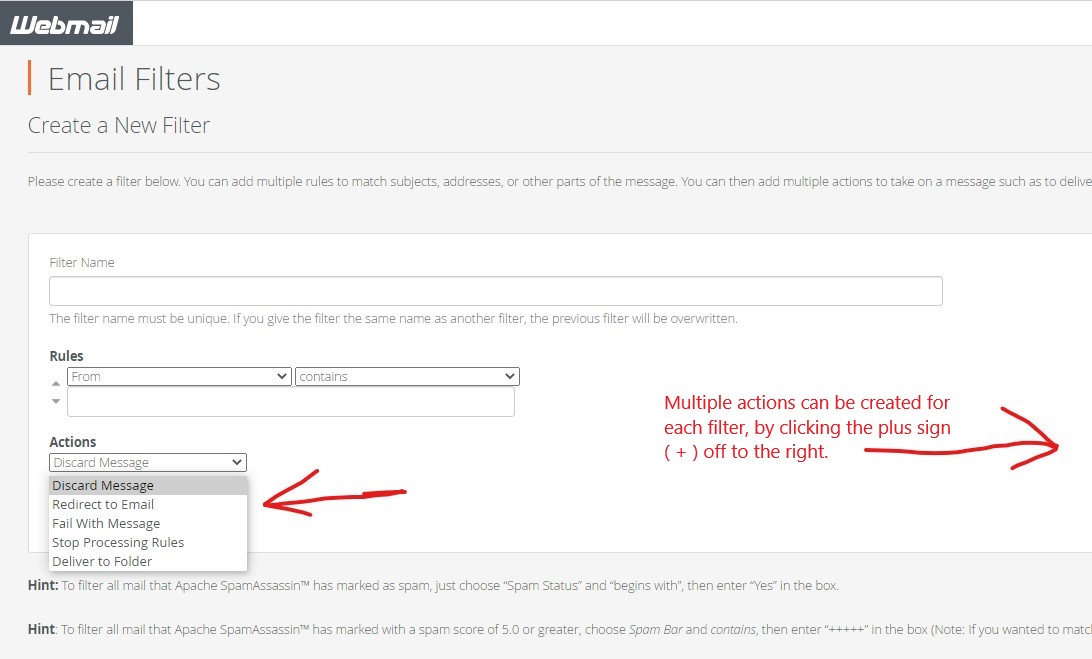
6. After setting the rules for your email filter, the last step is choosing the actions that you would like applied to the email messages that match the rules you just specified. Just like with rules, multiple actions can be specified per filter by clicking on the plus ( + ) sign over to the right next to the actions drop down menu. For complete information on what each action available for email filters will do to your email message, you can consult the complete cPanel documentation for email filters at https://docs.cpanel.net/knowledge-base/email/how-to-configure-email-filters/. One important note that we would like to include from the cPanel documentation on email filters actions is that if you use the "redirect to email" action, that action does not retain a copy of the message in the mailbox that the message was originally destined to. To retain a copy of the message in the inbox and forward it to another address, add a "Deliver to folder" action to the filter and set it to deliver it to the INBOX folder ALONG WITH the "redirect to email" action set to the email address that you want the message forwarded to.
7. Once you have configured all fields as you would like for this email filter, click the "Create" button to save the email filter.